The links below will give you the long-ish version (3-4 minute video or text) of how to photograph artwork, (general best practices). But the bullet points below should give you the short answer with perhaps the most important highlights.
Short Answer:
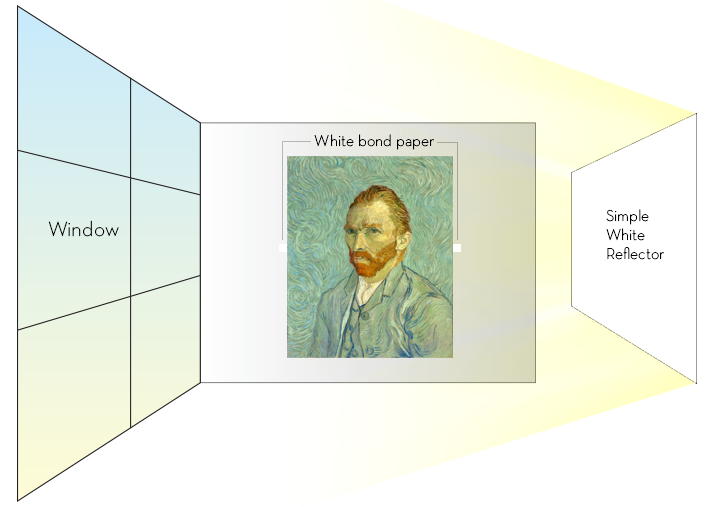
Super Helpful! - We need to know what “white” is when we create the cards. Indoor and outdoor light differs significantly in its actual color - outdoor white shows a lot of blue, while indoor white tends to be yellow. Your camera's Auto White Balance setting helps, but it’s even more helpful if you take a small piece (can be very small!) of white bond paper and tape it anywhere around the edge of artwork (perhaps two opposite sides). With this, we can measure what the camera thought “white” was, and make accurate color corrections to the artwork.
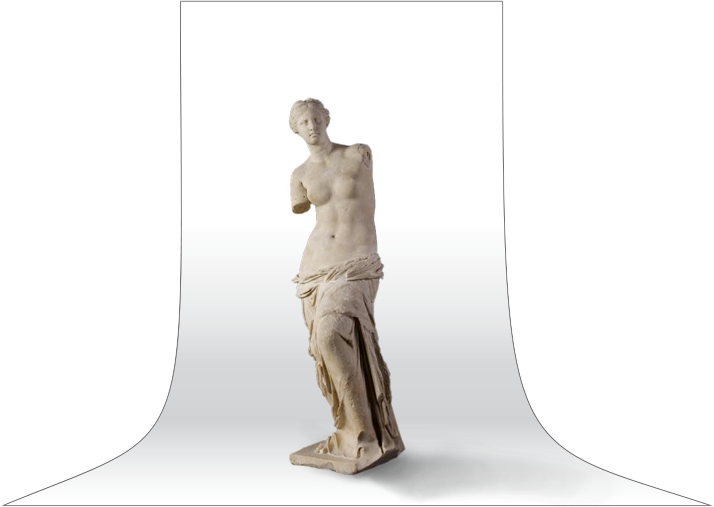
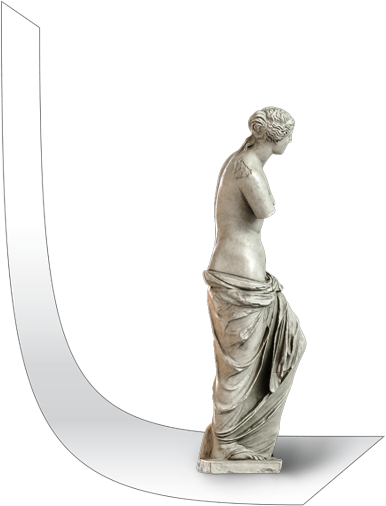
Non-flat Art Work (ie: sculpture): Use a large piece of white paper hung on a wall, but pulled out like the "red carpet” to form a gentle curve, (see illustrations below). Place your sculptural artwork on the paper, and photograph using the techniques described above (or left). The point of the curved paper is to give the background a gentle and flowing transition from wall to foreground, so no harsh background lines (ie: where wall meets table) steal visual focus from the artwork.